


Below is the uncorrected machine-read text of this chapter, intended to provide our own search engines and external engines with highly rich, chapter-representative searchable text of each book. Because it is UNCORRECTED material, please consider the following text as a useful but insufficient proxy for the authoritative book pages.
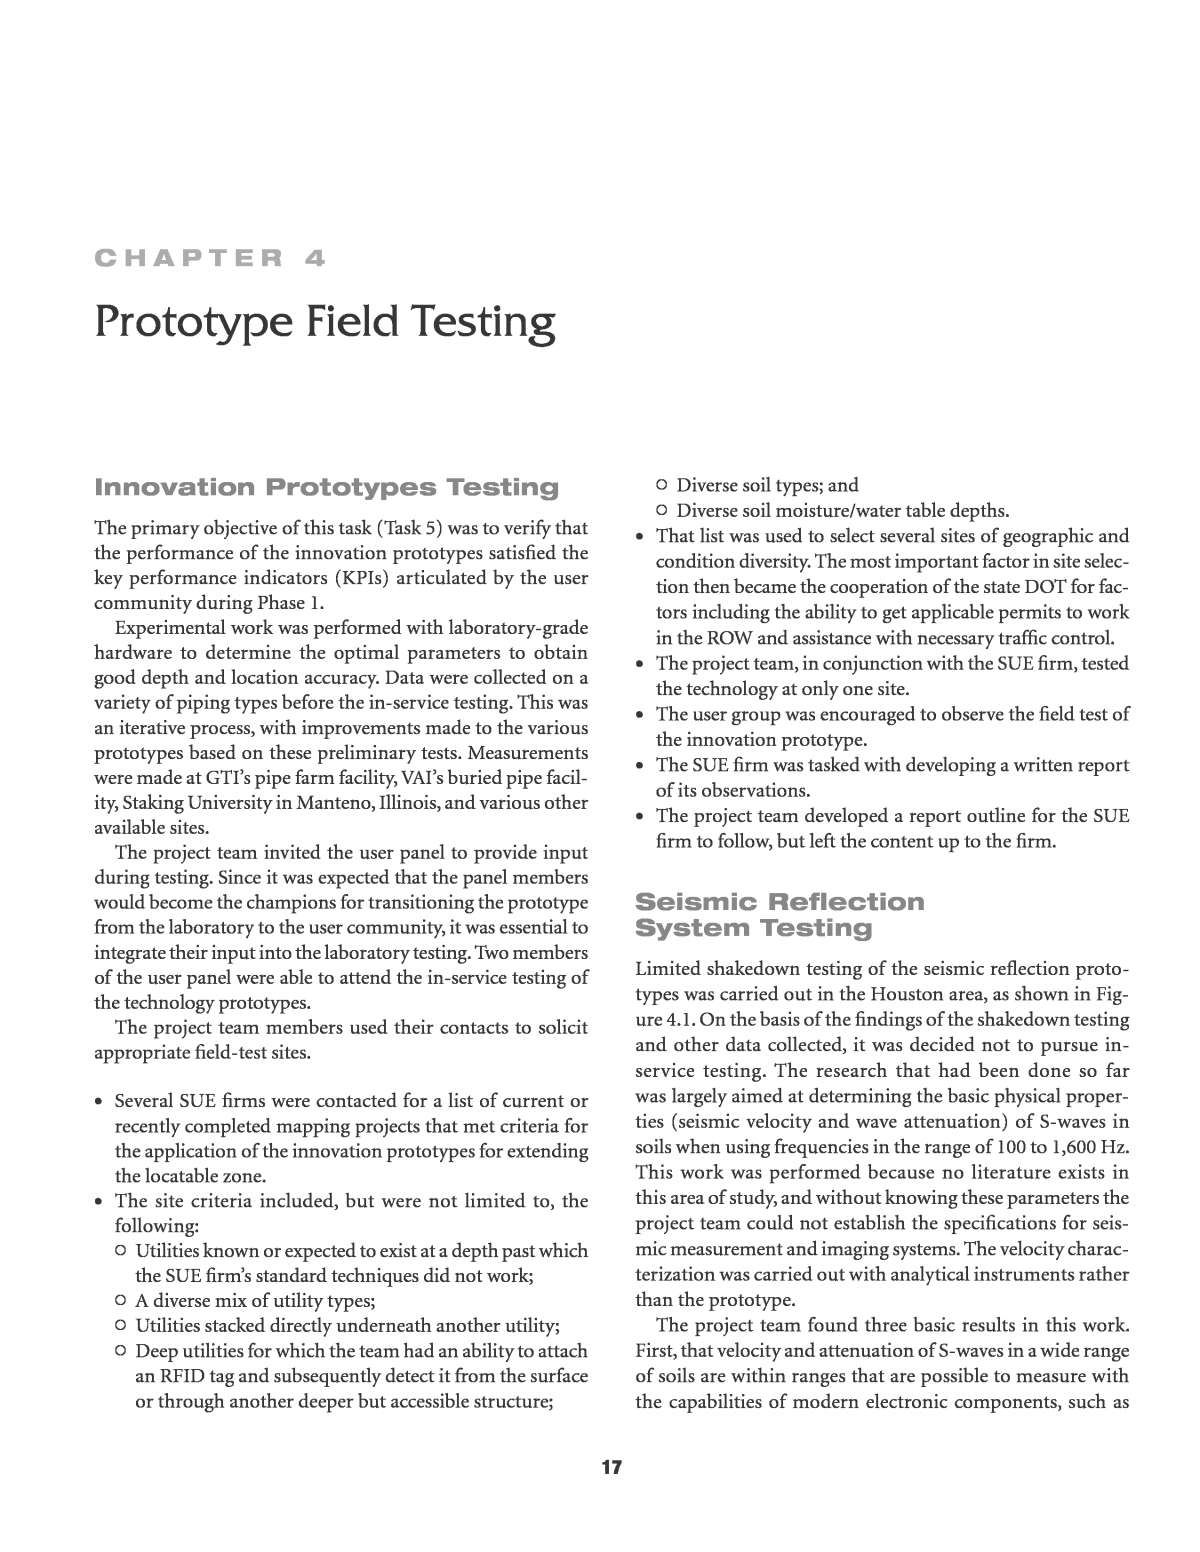
17 C h a p t e r 4 Prototype Field Testing Innovation prototypes testing The primary objective of this task (Task 5) was to verify that the performance of the innovation prototypes satisfied the key performance indicators (KPIs) articulated by the user community during Phase 1. Experimental work was performed with laboratory-grade hardware to determine the optimal parameters to obtain good depth and location accuracy. Data were collected on a variety of piping types before the in-service testing. This was an iterative process, with improvements made to the various prototypes based on these preliminary tests. Measurements were made at GTIâs pipe farm facility, VAIâs buried pipe facil- ity, Staking University in Manteno, Illinois, and various other available sites. The project team invited the user panel to provide input during testing. Since it was expected that the panel members would become the champions for transitioning the prototype from the laboratory to the user community, it was essential to integrate their input into the laboratory testing. Two members of the user panel were able to attend the in-service testing of the technology prototypes. The project team members used their contacts to solicit appropriate field-test sites. ⢠Several SUE firms were contacted for a list of current or recently completed mapping projects that met criteria for the application of the innovation prototypes for extending the locatable zone. ⢠The site criteria included, but were not limited to, the following: 44 Utilities known or expected to exist at a depth past which the SUE firmâs standard techniques did not work; 44 A diverse mix of utility types; 44 Utilities stacked directly underneath another utility; 44 Deep utilities for which the team had an ability to attach an RFID tag and subsequently detect it from the surface or through another deeper but accessible structure; 44 Diverse soil types; and 44 Diverse soil moisture/water table depths. ⢠That list was used to select several sites of geographic and condition diversity. The most important factor in site selec- tion then became the cooperation of the state DOT for fac- tors including the ability to get applicable permits to work in the ROW and assistance with necessary traffic control. ⢠The project team, in conjunction with the SUE firm, tested the technology at only one site. ⢠The user group was encouraged to observe the field test of the innovation prototype. ⢠The SUE firm was tasked with developing a written report of its observations. ⢠The project team developed a report outline for the SUE firm to follow, but left the content up to the firm. Seismic reflection System testing Limited shakedown testing of the seismic reflection proto- types was carried out in the Houston area, as shown in Fig- ure 4.1. On the basis of the findings of the shakedown testing and other data collected, it was decided not to pursue in- service testing. The research that had been done so far was largely aimed at determining the basic physical proper- ties (seismic velocity and wave attenuation) of S-waves in soils when using frequencies in the range of 100 to 1,600 Hz. This work was performed because no literature exists in this area of study, and without knowing these parameters the project team could not establish the specifications for seis- mic measurement and imaging systems. The velocity charac- terization was carried out with analytical instruments rather than the prototype. The project team found three basic results in this work. First, that velocity and attenuation of S-waves in a wide range of soils are within ranges that are possible to measure with the capabilities of modern electronic components, such as
18 analog-to-digital converters and amplifiers. Second, the tests demonstrated that most of the time the team could generate and propagate S-waves in the subsurface soils within the fre- quency range of interest. In some cases, the linearity of soil behavior was in question, and further testing to track down this variable needs to be done. Lastly, the team determined that subsurface soil environments are even more complex and heterogeneous than expected. Figure 4.2 shows the estimated depth at which various pipe diameters could be located using the seismic reflection technique. This estimate was generated using S-wave veloc- ities measured in soils in combination with an analytic model of wave propagation in soil. The limit of detection is the point at which the line for the particular diameter in inches crosses the -120-dB attenuation line. This graph represents the case where the shear seismic wave is polar- ized parallel to the pipe being located; any misalignment will degrade the performance. It must also be noted that the solid lines represent soil calibration data, while the dotted lines represent extrapolations based on these data. In this Figure 4.1. Seismic reflection initial prototype. Figure 4.2. Estimated seismic performance in soil 1.
19 particular soil type, there were several instrumentation issues that prevented capture of deeper data. This degree of extrapolation highlights the amount of practical prototype development that remains before a field instrument can be deployed. Figure 4.3 shows a similar data set for a dryer, stiffer soil than in the previous case. In this instance, it was possible to capture soil wave velocity data to a greater depth. The same constraint of the S-wave being parallel to the pipe is assumed. Once again, this estimate was generated from an analytic model that was populated with measured velocity values from the soil in question. The velocity data were captured with research-grade instrumentation, not with a technology demonstration prototype. These observations had the effect of requiring more work than expected in structuring and operating sources, constructing receiver arrays, and performing data process- ing. This work could not be done within the projectâs origi- nal goals, time, and budget. The following is a suggested outline for future development of a seismic system: 1. Construct and test a pulse type S-wave source generator. 2. Modify the source and receiver field carriage from the R01C project to accommodate the new source and to take into account data from the field tests. 3. Interface to a commercially available receiver that has come on the market since the project hardware was considered earlier. 4. Test this new setup over several sites with different soils and utilities. active acoustic Locator Testing of the Acoustic Locator in Manteno Figure 4.4 shows the data acquisition board from Measure- ment Computing with the existing radio receiver. A laptop (not shown in the figure) connects with the data acquisition board via USB and captures the digitized signals. The MATLAB algorithms for pipe depth and location are then run on the Figure 4.3. Estimated seismic performance in soil 2. Figure 4.4. Acoustic data acquisition board with 6-channel receiver.
20 laptop. The algorithms had been verified as working correctly, and a user interface is provided on the laptop. This system was packaged and tested in the Manteno, Illinois, facility during November 2011. The Manteno test site provided access to both ends of a 300-ft-long, 4-in.-diameter steel pipe. The pipe was initially believed to be full of air. However, the acoustic input signal could barely be heard at the far end of the pipe. This and subsequent measurements indicated that the pipe had a water blockage of unknown length at the low point. This blockage limited the amount of useful data that could be collected. Overall, the equipment functioned well. GTI learned a few practical improvements that should be made. For example, while the tripod sensors worked well on pavement, the spikes need to be longer to improve coupling in grass. The range of the radios needs to be checked again. Placement of the sen- sors started close to the injection point. The distance was gradually increased. At a distance of about 150 ft, the project team stopped receiving strong signals. This may be the result of a battery life issue, or it may have been due to water in the line blocking the signal. On the basis of the analysis in the field, the team appeared to be getting reasonable signal strengths up to the 150-ft point on the line being surveyed. The data acquisition system in its enclosure is shown with the display laptop and audio amplifier in Figure 4.5. The amplifier drives a specialized speaker that is mated with the end of the pipe being surveyed (Figure 4.6). The survey line of wireless sensors is then moved progressively farther down the pipe being located. The data collected during this set of experiments were stored on the laptop for postanalysis. Testing of the Acoustic Locator In-Service This section discusses observations about the acoustic locator experience in the field (in Columbus, Georgia). The system is complex in the sense that there are many components to keep track of. These consist of the following: ⢠A rugged speaker with adapters to mate it to various diam- eter pipes; ⢠Six acoustic sensors with integrated radio transmitters; ⢠One data receiver with data acquisition system; ⢠A laptop tethered to the data receiver; and ⢠A power amplifier, also tethered to the data receiver, to drive the speaker. A laptop was used as the display for the first-round testing in the interest of meeting the schedule. Some effort had been expended in integrating the display and processing into the data receiver system, but this was dropped when it became clear that this could not be ready in time for field testing. The power amplifier could also ultimately be integrated into the data receiver, further reducing the number of components. The six sensors and the speaker driver would remain separate components in any implementation. The actual user interface is simple; there are few menu choices. The sensors need to be laid out so that they are dis- tributed along a line with known spacing. The accuracy of the sensor spacing does affect the accuracy of the depth estimate. The current incarnation of the software runs slowly in the time-of-flight (TOF) mode. There are two processes that drive this issue. The actual processing of the TOF data is resource intensive and is currently implemented in MATLAB. Migrating the system to a faster processor running embedded code could significantly reduce the run time. This is a commer- cialization step and beyond the scope of the current project. Another issue is that all the data generated during the oper- ation of the prototype is saved to the hard disk of the laptop, adding more time to each run. This is critical for the prototype Figure 4.5. Active injection equipment being tested at Manteno. Figure 4.6. Acoustic signal injector on 4-in.-diameter pipe.
21 testing because it provides a measure of the system perfor- mance and a means for troubleshooting problems. Archiving the run data could be eliminated from a commercial version of the acoustic locator, but it must remain during the proto- type development stage. Overall, the initial field-test experience with the acoustic locator was poor. One false positive was generated on the first day of testing. Several other tests were run in areas where the facility being located was reasonably well known. The acoustic instrument provided depth estimates of 40 ft for facilities that were known to be between 5 and 6 ft deep. No other excavations were made on the basis of data from the acoustic instrument. The suspected problem is that at least one of the acoustic sensors was damaged in transit. The first acoustic readings were taken on a sanitary line from a public restroom near 28th Street and Talbotton Road in Columbus, Georgia. A clean out on one side of the building was opened, and the speaker was inserted (Figure 4.7). The sensor array was placed near the curb on the 28th Street side. The presence of a sanitary line in this area was indicated (incorrectly as it turned out) by existing One-Call paint marks. A nominal center was found by using the amplitude method and depth shots taken. The depth estimate was 1 ft; this read- ing was consistent for array spacing of 1, 2, and 3 ft. The dig at this point resulted in a dry hole down to past 3 ft. The line was then traced using a fish tape and EM locator. The run was discovered to go in the opposite direction to what was originally thought. The line went northeast and parallel to Talbotton to a second clean out and then made a right-angle turn into Talbotton and into a manhole. The manhole cover was removed and the end of the fish tape visually identified about 5 ft below grade. The sensor array was placed in the grass along the Talbot- ton curb line, straddling the pipe path between the second clean out and the manhole (Figure 4.8). The signal was again injected into the first clean out because the project team was unable to safely open the second clean out. Despite placing sensor 3 directly over the expected pipe path, sensor 2 gave the highest reading and sensor 3 the lowest using the ampli- tude method. When the procedure was repeated with the TOF method, sensor 4 gave the highest reading, and sensor 3 was still the lowest. This procedure was repeated with the sen- sors 6 in. farther back from the pavement and also on the pavement. In all the cases, sensor 3 gave the lowest reading. A depth estimate from this location came back at 40 ft. Given the far end of the line was clearly 5 ft deep at the manhole, no excavation was made based on these data. Sensor 3 was opened and examined; no obvious problem was detected. The sensor array was moved to straddle the line connecting the two clean outs. Again, sensor 3 was so placed as to be on the projected location of the line. This time sensor 3 did give the highest reading. When a depth estimate was performed again, the result was still 40 ft. The sensor array was moved again toward the first clean out, which was the signal injection point for all of the tests. Once again, the depth estimate came back as 40 ft. A simple amplitude locate was later performed with the sensors clustered on the floor of the hotel room, which is a slab on grade. There was no signal source connected; the data should have been the ambient noise seen by the sensors. For two repetitions of this test, sensors 3 and 5 gave higher signal levels than the other four sensors. The positions of sensors 3 and 5 were varied for these two trials to determine if position caused the elevated signal level. The result was that 3 and 5 were higher even when their positions were varied. This find- ing suggests that the sensor responses are not uniform. Given that the TOF estimate is based on a cross-correlation tech- nique, the effects of sensor variations on the depth estimate should be minimal. As long as there is sufficient signal captured to maintain the shape of the chirp signal, a reasonable depth estimate should result. The speculation at this point was that the convoluted pipe geometry at the first site was causing some distortion of the acoustic signal. The two vertical clean outs and multiple Figure 4.7. Signal injection speaker in clean out near 28th Street and Talbotton. Figure 4.8. View from second clean out toward Talbotton Road.
22 branches of the drain lines may generate echoes or resonances of the injected signal. Multiple signal paths to the sensors could blur the TOF findings and give erroneous depths. A second test was performed at a site with a much simpler geometry near 1130 Talbotton Road. The site was a medical clinic set back roughly 40 ft from Talbotton Road. There is a parkway that is roughly 20 ft wide adjacent to Talbotton, a parking lot, and a small strip of grass adjacent to the building. The sanitary clean out was located in this strip of grass. The expected path of the pipe was from this clean out to a manhole located by the curb in the parkway; there were paint marks that supported this supposition. The clean-out cover was removed and the speaker was mated with it (Figure 4.9). The opening was butted with the 3-in. fit- ting, which was the same size as the clean-out pipe. One of the rubber boots was used to provide a foot resting on the soil to stabilize the speaker. The site drawings provided by So-Deep Inc. indicated that the actual buried sanitary line was 6 in. in diameter. The first sensor line was set up in the parking lot between the building and the parkway. The surface was new concrete in good condition. An amplitude locate shot was taken, and the indication was that the entire array needed to be moved slightly north. This was done, and another ampli- tude locate taken. This locate indicated the largest signal was at sensor 3. A few depth estimates were taken on the parking lot but with imprecise sensor spacing. All depths came back at 40 ft. At this point the project team needed to move the array to accommodate a patient being picked up from the clinic. Because it was not possible to put the sensors back in their exact location, no more data were taken at this location. The array was placed on the grass in the parkway adjacent to the clinic parking lot (Figure 4.10). This location was about 25 ft from the signal injection point. Several amplitude locates were done at this location to get the array centered. The array was repositioned laterally to adjust the spacing and location with respect to the expected location of the pipe. The distance from the parking lot curb was constant during these tests. The expectation was that this would provide a constant distance along the pipe being located from the signal source. All depth readings taken at this point came back at 40 ft. The view in Figure 4.11 was taken from the manhole near the curb of Talbotton Road. This was the expected terminus for the sanitary line being located as indicated by the site drawings. The signal injection source was to the right of the door and of the downspout seen on the medical clinic build- ing. The initial set of readings was taken in the pavement behind the row of parked cars. In every instance, the depth indicated from the TOF method was 40 ft. Given that this was clearly erroneous, no excavations were made on the basis of these data. No further acoustic data were taken in Columbus, Georgia. The following actions were proposed for the acoustic prototype: ⢠Examine the data records collected at the second site for guidance about the issue with the TOF depth estimates. Figure 4.11. View from manhole toward clean out.Figure 4.9. Speaker on clean out near 1130 Talbotton. Figure 4.10. Sensor line between clean out and manhole.
23 ⢠Physically examine and test the six sensors to verify their proper operation. ⢠Test the system at a local site that replicates the geometry of the second site. ⢠Find another test site that provides a direct connection to a buried duct within a manhole, eliminating the bend and direction change of a clean out. Follow-Up Testing of the Acoustic Locator The results obtained during the in-service testing in Georgia were not as expected, and follow-up testing was required. After returning to GTI, the team made a series of measurements on a buried 4-in.-diameter polyethylene pipe. Figure 4.12 is a schematic of the test site. It provides a geometrically simple test situation of a straight pipe with no obstructions. Each end of the pipe terminates in a 4-ft diameter manhole, pro- viding easy access to the open ends of the pipe. Although the pipe is drawn straight, it has a gradual curve, with the low point near the middle. The total length of the pipe is approximately 120 ft. The sensor array was positioned 22 ft from the speaker and spaced equally across the pipe, with 2 ft between sensors. The right-hand end of the pipe is open to the atmosphere. Visual alignment placed the pipe location under sensor 3. Table 4.1 gives four sets of TOF data collected with this geometry. For the fourth set, the sensors were shifted by one spacing. Figure 4.13 plots the TOF values versus sensor position. The graph shows a general trend, but there are several out- liers that proved to be interference artifacts caused by multiple reflections. The outliers were removed and the data were com- bined into one set. The red (artifact) values in Table 4.1 were removed from the data set. A second-order polynomial regres- sion was performed on the remaining data to obtain the equa- tion of the best fit line for these data. Figure 4.14 plots the culled data set and the regression line. The regression line is at a mini- mum at sensor location 3.3, close to the location of the pipe. The next step was to understand the cause of the outliers. Part of the data analysis was a correlation of the input signal driving the speaker with the waveform obtained/received/ produced from each sensor. The input signal was a tone burst that started at a low frequency and continuously swept to a higher frequency. This process was selected to minimize the effects of sensor/soil coupling and background noises on the TOF values. The algorithm reported the arrival time as the time of the largest peak of the correlation. Examination of the correlation waveforms showed multiple peaks of similar amplitudes were present rather than the single one expected. During the data collection, one of the research- ers stood next to the far manhole while the burst pulse was fed into the speaker. A loud burst was heard, and it was followed by multiple reflections. The peaks in the correlation curves were Sensor array Ground surface Manhole Travel path of sound 4-inch PE pipe Speaker 22 feet ~120 feet Figure 4.12. Acoustic testing on GTI pipe farm. 0 0.5 1 1.5 2 2.5 1 2 3 4 5 6 7 Ti m e- of -fl ig ht , s ec on ds Sensor position Series1 Series2 Series3 Series4 Figure 4.13. Acoustic TOF plots. Table 4.1. Time-of-Flight (TOF) Data on GTI Pipe Farm Sensor Position Run 1 Run 2 Run 3 Run 4 1 0.0698 0.0717 1.1062 2 0.0193 0.0212 0.0227 0.0689 3 0.0727 0.0749 1.7441 0.0682 4 0.0654 0.0674 0.0688 0.0695 5 0.0655 0.0675 0.0688 0.0782 6 0.0721 2.0651 0.0755 0.0719 7 0.0730
24 consistent with constructive interference of reflections from the two ends of the pipe. As a result, some of the correlation maximums of the reflections were larger than the correlation maximum occurring at the initial time of arrival, causing the algorithm to select the wrong maximum. Modification of the algorithm to select the first large peak should eliminate the outliers and improve the depth determination. The sewer pipes in Georgia were also susceptible to mul- tiple reflections and constructive interference. Examination of the correlation waveforms showed multiple peaks. The depth of the pipe was estimated using the TOFs from all six sensors and determining three unknowns. These unknowns were the following: 1. A term related to the velocity of sound in the soil; 2. The slope of the pipe; and 3. The depth of the pipe. An equation that relates the terms is nonlinear; thus, an iteration process was used to obtain the values. The depth iteration process does not function if some of the TOF values are incorrect. Some reanalysis of the Georgia data was possi- ble. The postanalysis numbers yielded a pipe depth of about 1.3 ft rather than the depth of greater than 40 ft obtained in Georgia. While the new value is better, a more accurate analy- sis of the data cannot be made. Maps of the Georgia sewer pipe show depths that range from 1 to 5 ft. Long-range rFID tags Preliminary Long-Range Tag Tests This section describes the test setup and results from deep borehole testing of the VAI RuBee technology embodied in the prototype Uber long-range deep-burial tag. This testing was carried out in January 2011 near the VAI headquarters. The VAI RuBee tag can be detected underground at depths of 20 ft. The test was conducted as depicted in Figure 4.15. VAI-supplied Finder software was used to record the signal strength of the tag as received by the base station. A laser device was used to accurately record the distance of the tag from the antenna during the testing. The VAI-supplied Ranger antenna and base station were initially placed 20 ft away from the borehole (ground surface). A vacuum-excavated hole was created with a depth of 20 ft, having an interior cavity of 1.5 ft by 1.5 ft. During measurements, the Ranger antenna was moved in a straight line toward the hole and continued past the hole to a location 20 ft from the hole on the opposite side. The results of this testing can be seen in Figure 4.16 to Fig- ure 4.19. These figures plot the signal strength of the tag and the location of the tag relative to the top of the hole. At a distance of zero, the base station antenna is approximately 20 ft away from the hole. At a distance of 20 ft, the base station antenna is directly above the hole. At a distance of 40 ft, the base station antenna is about 20 ft from the hole on the oppo- site side. The procedure effectively maps the signal of the tag relative to position. The data from the Finder data logs were plotted as scatter plot and data point using color-coding of green and red data points. A green data point is a successful two-way tag ping (signal sent and acknowledged) using RuBee. A red data point is an unsuccessful ping (incomplete data transfer). The VAI base station receiver was optimized for multiple tag discovery whereby the average of multiple signal strength readings was required to obtain an absolute signal strength measurement, and this average value determined whether an acceptable or nonacceptable ping had taken place. Figures 4.16 and 4.17 show the signal strength of the tag placed 20 ft into an open hole. In Figure 4.16, the base Figure 4.15. In-hole testing with laser range finder. y = 0.00034x2 â0.00227x + 0.07310 R² = 0.13266 0.06 0.07 0.08 0.09 1 2 3 4 5 6 7 Ti m e- of -fl ig ht , s ec on ds Sensor position Figure 4.14. TOF data curve fit.
25 Figure 4.16. Uber Tag at 20-ft depth with no cover. The base station has a Ranger antenna in a coplanar (parallel) orientation. Green indicates that the tag was read correctly. Red indicates that there was an error in reading the tag data. Figure 4.17. Uber Tag at 20-ft depth with no cover. The base station has a Ranger antenna in a perpendicular orientation. Green indicates that the tag was read correctly. Red indicates that there was an error in reading the tag data.
26 Figure 4.18. Uber Tag at 20-ft depth with 5-ft soil cover. The base station has a Ranger antenna in a coplanar (parallel) orientation. Green indicates the tag was read correctly. Red indicates that there was an error in reading the tag data. Figure 4.19. Uber Tag at 20-ft depth with 5-ft soil cover. The base station has a Ranger antenna in a perpendicular orientation. Green indicates the tag was read correctly. Red indicates that there was an error in reading the tag data.
27 station antenna is in a coplanar orientation (see Figure 4.15). This antenna orientation is the best orientation to receive maximum signal strength from the tag, and the peak signal strength occurs when the antenna is directly above the tag. In this orientation (as shown in Figure 4.16), the tag can be detected within a 17-ft radius around the hole. The signal strength increases and peaks at 19 to 20 ft, around where the hole was located. Figure 4.17 shows the signal strength with the antenna in the vertical orientation (see Figure 4.15.). Although less signal strength is measured in this orienta- tion, this orientation gives one the best indications of where the tag is specifically located. Figure 4.17 shows that the sig- nal strength of the tag falls out at around a 19-ft radius from the hole. The results of Figures 4.18 and 4.19 show the tag under the same conditions as Figures 4.16 and 4.17, except that the tag was buried with 5 ft of soil cover. In the coplanar orientation (Figure 4.18), a noticeable loss of about 20% of signal strength can be observed. This also lowered the detection radius from 17 ft to about 12 ft. Even with this loss of signal strength, Figures 4.18 and 4.19 pinpoint the tag to about 18.5 ft, which is around the borehole area. The conclusions that can be drawn from the borehole testing are promising. The Uber Tag is easily detectable 20 ft in the ground within a radius of 10 ft from the center point both before and after backfill. There was a reduction in signal strength when the tag was buried with 5 ft of soil cover; however, the detection radius remained as good as any existing commercial product while being far superior in depth. The following are probable causes for this reduction: 1. Soil detuned the tag. 2. The tag generated eddy currents in the soil. 3. Soil inhibited the magnetic field of the tag, thereby chang- ing the strength of the field. If the signal strength reduction is the result of causes 1 and 2, then the effect of soil on the tags is only a localized phenom- enon and no effect should be seen, even if the 20-ft hole the tag is in is completely backfilled. If cause 3 is the reason for the signal strength reduction, then backfilling the hole com- pletely may lead to further signal degradation. Given that the tagâs magnetic field is able to penetrate the soil when the base station antenna is 20 ft away (surface distance) from the bore- hole opening, meaning the soil distance is 28 ft, cause 3 is not likely. Figures 4.15 through 4.19 highlight how easily the position of a properly oriented tag in the ground can be detected by a hand- held device using both coplanar and perpendicular antenna orientations. In conclusion, the RuBee Uber Tag is readily detectable when buried at 20 ft. In-Service Testing of Long-Range Tags There are some general observations about the test site in Georgia: there are no truly deep utilities within the Talbotton Road project, and the frost line in the region is such that it is difficult to find much in excess of 6 ft deep. Only one location was set up with two stacked utilities; a total of four tags were installed at the Columbus site. There were several issues with the portable RuBee tag loca- tor, the V-Rod (Figure 4.20). The startup of the V-Rod was erratic, often requiring several resets to achieve stable opera- tion. Once activated properly, the V-Rod did provide a reason- able method for locating and identifying individual tags; it can be used in both a peak and null mode to center the location of a buried tag. It does identify all the tags in the immediate vicin- ity and then allows the operator to select one from the list to perform locating. There are several ergonomic issues that need improvement with the V-Rod. The weight/center of gravity needs to be adjusted such that the antenna is closer to the ground, as with current EM instruments. This would improve the handling and also increase the signal strength by decreasing the distance to the tag. The display graphics could be improved, but a more important step would be to provide a louder audi- ble indicator of signal strength. The current âGeiger counter clickâ is too soft for traffic conditions. As a result, the operator has to spend a lot of time looking at the display. The physical packaging of the tags for field installation will require some improvement. The prototypes are cemented with RTV, but the production devices will need to be ultra- sonically welded. The tags are cylindrical and provide the strongest signal when their long axis is aligned with that of the reading antenna. For a very deep installation, the optimum orientation is with the tag standing on end. This was accom- plished during the field test by attaching the tags to warning marker tape and lowering them into the excavation to the appropriate depth. Maintaining the upright orientation Figure 4.20. V-Rod portable locator and tags.
28 during backfill requires care. Even a small tilt can throw off location by several feet if the tag is at a 20-ft depth. A self- leveling package, such as the 3M marker ball, would be advan- tageous. Given the range of the Uber Tags, it would also be possible to install the tags parallel to the buried facility. This would allow an operator to both locate the facility and deter- mine its run direction from aboveground. There was significant scatter in the signal strength from the various tags. Two types of tags were provided for this field test: the long-range Uber Tag and the medium-range Large Asset Tag. VAI claims that the variation would be significantly reduced in production devices. Several of the Uber Tags have been returned to VAI for testing to verify how much the signal strength has drifted since they were fabricated. Figure 4.21 shows signal strengths for the various tags buried in Columbus. The strengths are given in arbitrary units and a minimum level of 50 is required for the tag to be detected and read. The readings were taken with the V-Rod receive antenna located at about chest height for the operator. The distance from the ground to the location of the V-Rod must be added to the burial depth given in the table. There is still a good deal of scatter, even when adjusted for distance, in the signal strength of the Large Asset Tag, which is a production item for VAI. The longer-range Blaster tag reader, shown in Figure 4.22, was also tested briefly. This device has a greater range and a more elaborate data display than is provided using a laptop. This device would be appropriate for mounting on a mobile platform, such as a car or survey radar cart. The system has three components: an antenna, the base station, and an attached PC to run the display software. The Blaster can quickly identify tags over a large area. With the appropriate choice of antenna, it could also be used to locate tags. The rod-style antenna is less affected than the open-loop antenna by the presence of nearby metal. The rod-style antenna is therefore a better candidate for mounting on a vehicle bumper or trailer hitch to allow tag surveys to be conducted from a moving vehicle. The following were action items with respect to the long- range RFID tags: ⢠Find locations for deeper burial of the remaining tags. ⢠Make improvements to the V-Rod firmware to improve user interface and reliability. ⢠Determine the cause and remedy for the scatter in the signal strengths of the tags. ⢠Improve physical packaging to deal with alignment and seal- ing issues. Two tags were buried near 2039 Warm Springs Road just west of Calvin Drive in Columbus. An Uber Tag was located on a 10-ft clay sanitary line at a depth of 5.25 ft, and an Asset Tag was located on a telecom duct at a depth of 4.5 ft. Both could be identified and located after the backfill and paving were applied. Figure 4.23 shows the V-Rod being used in the null mode, with the antenna orthogonal to the tag, to pre- cisely center the lower tag. Both tags were located under the patch visible in the pavement. A third tag was installed on a six-way RPC duct near 1801 Warm Springs Road. This device was a Large Asset Tag. Once again, it was readily locatable after the backfill and patch was Location Tag ID Tag Depth (ft) Signal Strength 2039Warm Springs Road 770020 2300 2039Warm Springs Road 660000 1125 1801Warm Springs Road 660004 400 29th and Talbotton Road 660002 Tag Type Uber Asset Asset Asset 5.25 4.50 5.75 5.00 670 Figure 4.21. Signal strengths versus depth for the Columbus RuBee tags. Figure 4.22. Base station tag reader with two alternative antennas.
29 applied. In Figure 4.24, the V-Rod is being used in the peak mode, with the antenna parallel to the tag, to identify and locate the tag. The fourth tag was installed at the bottom edge of a tele- phone duct located at the intersection of 29th Street and Tal- botton Road (Figure 4.25). As with the other installations, the duct was exposed using vacuum-excavation techniques. The duct is a rectangular, concrete structure that runs in the south margin of Talbotton Road. The tag was readily located after the excavation had been backfilled. Another excavation was started but was not completed dur- ing the field-test period. This was another telephone duct that was discovered to be located in a wet clay soil. The nature of the soil slowed the vacuum excavation. Given that this would only have given a depth of 7 ft when exposed, the team elected to reserve the Uber Tags for deeper locations that might appear during the course of the Talbotton Road project. Additional Testing of Long-Range RFID Additional testing had been planned using a 20-ft-deep bore- hole on the GTI campus. Two improved versions of the Uber Tag were provided to GTI but did not arrive until late in December 2012. One-Call clearing the site and acquiring a contractor to perform the bore were not possible at that late date. The improved Uber Tags were tested in free air and found to have a range in excess of 40 ft. Given the frequency of operation, 131 kHz, the overburden of 20 ft of soil would have little effect on the signal strength. This statement is sup- ported by the results of borehole testing that was performed in the Toronto area. The extended range of these tags meets the original goal: they can be placed on a utility at a depth of 20 ft and still have sufficient range margin to be locatable over a wide area at the surface. Figure 4.23. Using V-Rod to locate two tags buried near 2039 Warm Springs Road. Figure 4.24. Third tag was buried near 1801 Warm Springs Road. Figure 4.25. Fourth tag was buried at 29th Street and Talbotton Road.
